Good news first: a welding carriage does not ask for exotic consumables. It runs what your welders already run — with two adjustments: the wire choice matters more on vertical seams, and the speed numbers have to match your deposit rate, not your hand.
The fastest way to good automatic welds is to start from the wire, gas and current your welders already use on the same joint. The carriage does not change the metallurgy; it changes the consistency. Same wire, same gas, same settings — every metre identical.
Where beginners go wrong is treating the travel speed dial like a hand-welding pace. A carriage moves at 200–1100 mm/min depending on series and joint; the wire feed has to deposit enough metal to fill the joint at exactly that speed. That relationship — deposition vs travel — is the whole tuning job.
The two pins of honest advice that fix 90% of first trials: slow down the travel before you crank up the wire, and let the oscillator — not the wire feed — widen the bead.
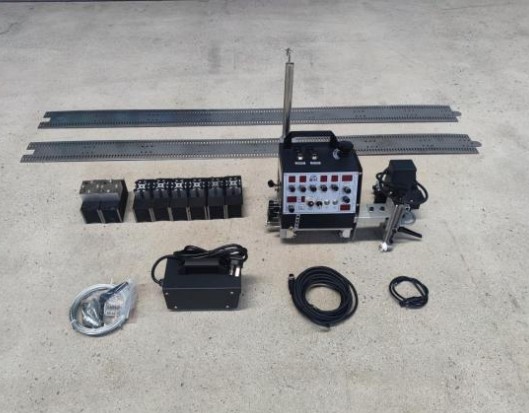
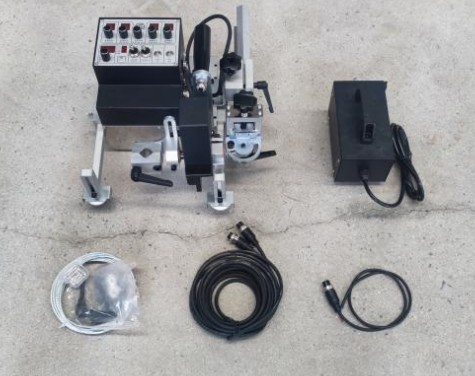
What we see on real orders, joint by joint — copy it, then adjust from your first trial bead.
| Job | Wire | Gas | Why |
|---|---|---|---|
| Flat & horizontal fillets (JJ/GJ) | ER70S-6 solid Ø1.2 | CO2 or 80/20 | High deposition, speed is the game; CO2 is fine and cheapest |
| Long panel seams (ZG) | ER70S-6 Ø1.2 | 80/20 mix | Bead appearance matters on panels; mix keeps spatter off long runs |
| Tank shell girth (RG) | ER70S-6 Ø1.2 | 80/20 mix | Consistent bead on curved work; stable arc at moderate speeds |
| Vertical-up seams | E71T-1 flux-cored Ø1.2 | CO2 (self-shielded variants ok) | Flux keeps the puddle from sagging; solid wire fights gravity in position |
| Pipe & crawler work (CX) | E71T-1 or solid Ø1.2 | Match to WPS | Site pipe work often specifies flux-cored; follow your WPS |
| Multi-pass thick plate | ER70S-6 Ø1.2 | 80/20 mix | Clean inter-pass on the 2nd–8th pass matters more than deposition rate |
Stainless and aluminium: the carriage does not care about material, the track does. Stainless and aluminium need the suction-cup or clamping track variant; wire and gas follow your normal TIG/MIG practice for that alloy.
Photo of the joint, plate thickness, wire and gas you stock — we send back starting settings for the specific series, free, before you decide anything.