On thick plate the weld is not one pass but ten, and the problem stops being penetration and becomes consistency: the same heat input on pass one and pass ten, hour after hour, without the distortion that comes with guessing.
A 25 mm butt joint is a procedure, not a weld: root, fill, cap, with interpass temperature held in a window and every pass starting from the same place. Done by hand, the hard part is not the first pass — it is the eighth, six hours in, when someone still has to hold exactly the same travel speed and the same torch angle.
A carriage does the boring half of that job. It holds the travel speed, the torch angle, the stick-out and the oscillation, so the heat input per pass stays inside the procedure window instead of drifting with the operator's fatigue. Pass sequencing, preheat and interpass control stay with you, which is exactly where engineering judgement belongs.
For flat plate use the ZG straight-track carriage; for curved shells, vessels and heavy fabricated frames use the RG flexible track or the CX magnetic crawler. Same controller, same III-generation settings, different way of following the workpiece.
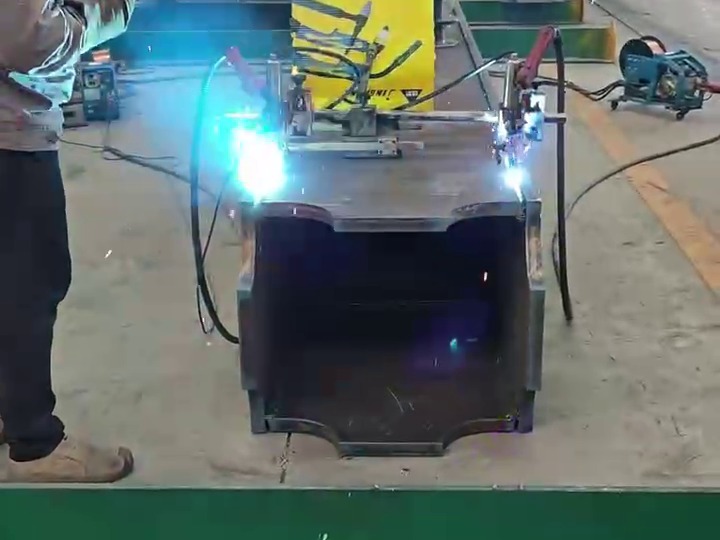
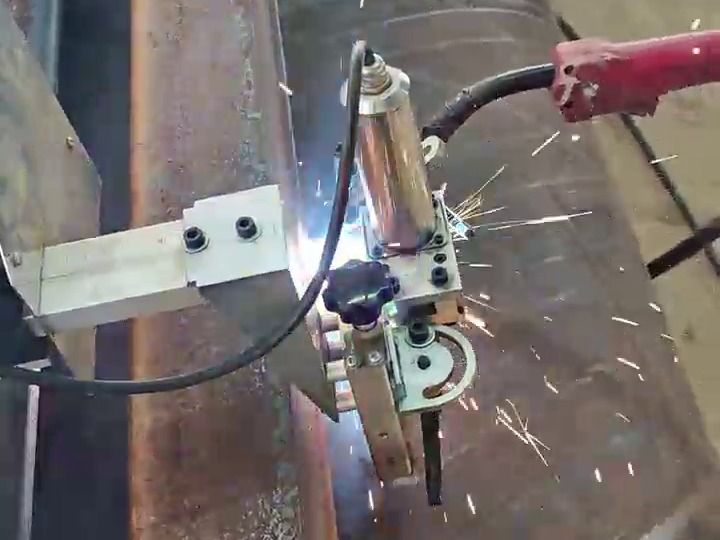
An illustration of how the machine is used across a multi-pass procedure. Your WPS governs; these are the carriage settings we would start from.
| Pass | Purpose | Carriage setup | What to watch |
|---|---|---|---|
| Root | Full penetration, consistent root bead | Low travel speed, no oscillation, straight swing | Gap consistency along the joint — the machine cannot compensate for a changing gap |
| Fill 1–3 | Build the groove without exceeding heat input | Higher travel speed than the cap, narrow oscillation | Interpass temperature staying inside the window |
| Fill 4–6 | Continue filling, manage distortion | Alternate sides or sequence per the WPS | Distortion — balancing passes is a sequencing question |
| Cap 1–2 | Full width cover with correct profile | Widest oscillation with dwell at each end | Edge wetting and undercut at the bevel faces |
| Stitch / intermittent (where specified) | Reduce heat input on non-critical runs | Set weld time and gap time independently | Consistent stitch length; that is the visible quality check |
Two settings do most of the work on thick plate: a travel speed you do not touch between passes, and an oscillation width that changes only when the WPS changes. That is what makes the tenth pass look like the first.
Four steps for the kind of job where the machine has to come back to the same line for every pass.
On a multi-pass joint the machine comes back to the same line for every pass. Set the track parallel to the joint and check it over its full length before the root — re-rigging mid-job is what kills consistency.
Take the travel speed from the procedure and set the oscillation for groove width. Adjust the torch position with the slides rather than changing speed, so heat input stays where the WPS put it.
Use the ±5 mm centre offset compensation and the vertical/horizontal torch slides to aim at the correct depth as the groove fills. It takes seconds per pass and it is what keeps the cap centred.
The controller remembers the last settings after power-off. Write down the combination that worked for the joint and it becomes a repeatable setup — which is the real commercial value on repeating thick-plate work.
Send us the joint geometry, plate thickness, welding position and your current procedure. We will propose the machine and a starting pass plan.